Holiday season = gatherings, parties, celebrations and my favorite: FULL GLAM. Nothing is better than going into your makeup room and coming out 3+ hours later looking completely different. But imagine this…you get to the party, look in the bathroom mirror and POOF. All of your hard work. Gone. Faster than the time it took for your last date to ghost you. How rude! I’m offended on your behalf.

Luckily, your face card can party as hard as you do–with the right products, some skincare magic and a few secret weapons I’ve got up my sleeve, you’ll be ready for all the sparkles, sass and shenanigans the night throws your way.
Step 1: SKINCARE
“KM, are you saying that makeup prep begins BEFORE you apply your makeup??!?!” Yes, my little glow getter, it absolutely does. Consider your skincare routine the *real* foundation in your glam session. What you put on your freshly washed face will dictate how your makeup settles and sits. You want your products to lay flawlessly? Use an exfoliating product of your choice–either chemical or natural–to remove any dead skin cells on your face (ew). I like to use a chemical exfoliator when I have an event coming up, BUT. THIS IS IMPORTANT. I don’t use it the day of. Chemical exfoliators can cause redness and minor irritation, and you don’t want to put makeup on top of sensitive skin. I use my Pumpkin Exfoliating Mask from Peter Thomas Roth a couple of days before a big event and I am good to gooooooo, sis. Side note: if you’ve never used a chemical exfoliator, the days before your event is NOT THE TIME TO TRY. Work your skin up to it gently so you don’t become known as Miss Lobster Face at your party.

Okay, so you used your exfoliator (a safe timeline away from your important party pls&thnx) and now fast forward to the night of when you’re getting ready with a fresh face. Now what?
Hydrate.
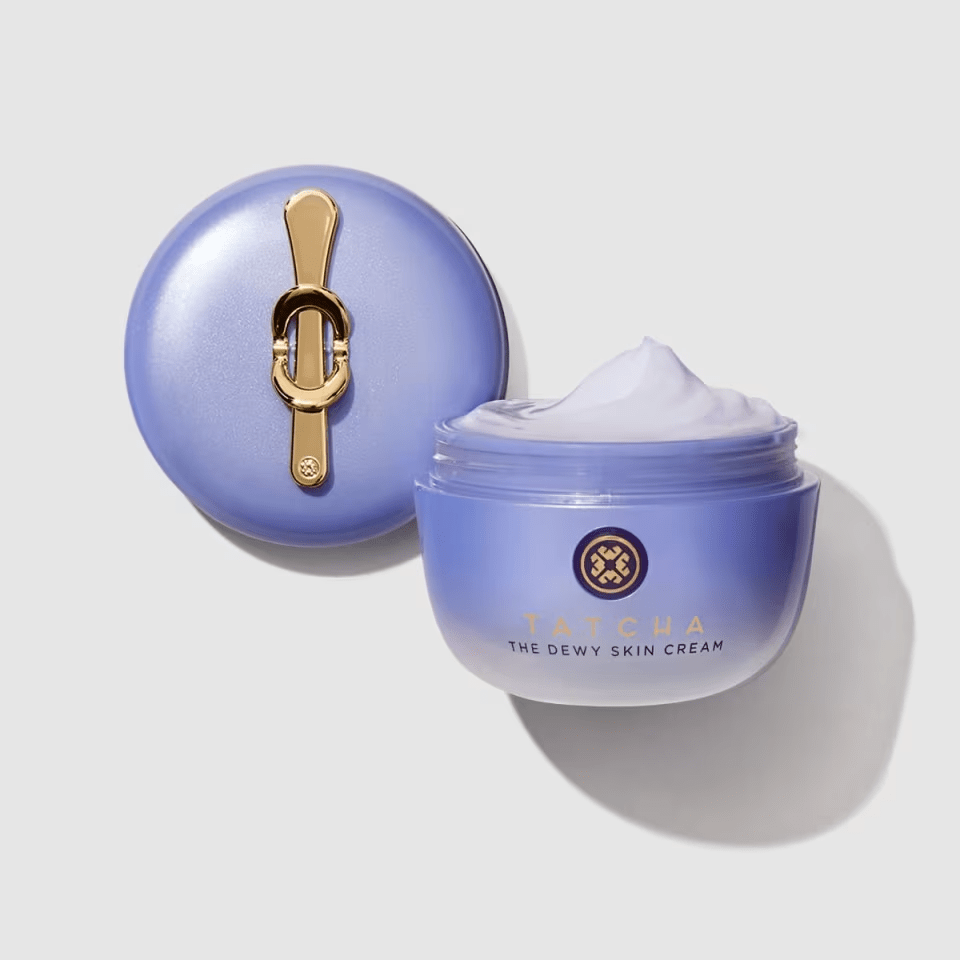
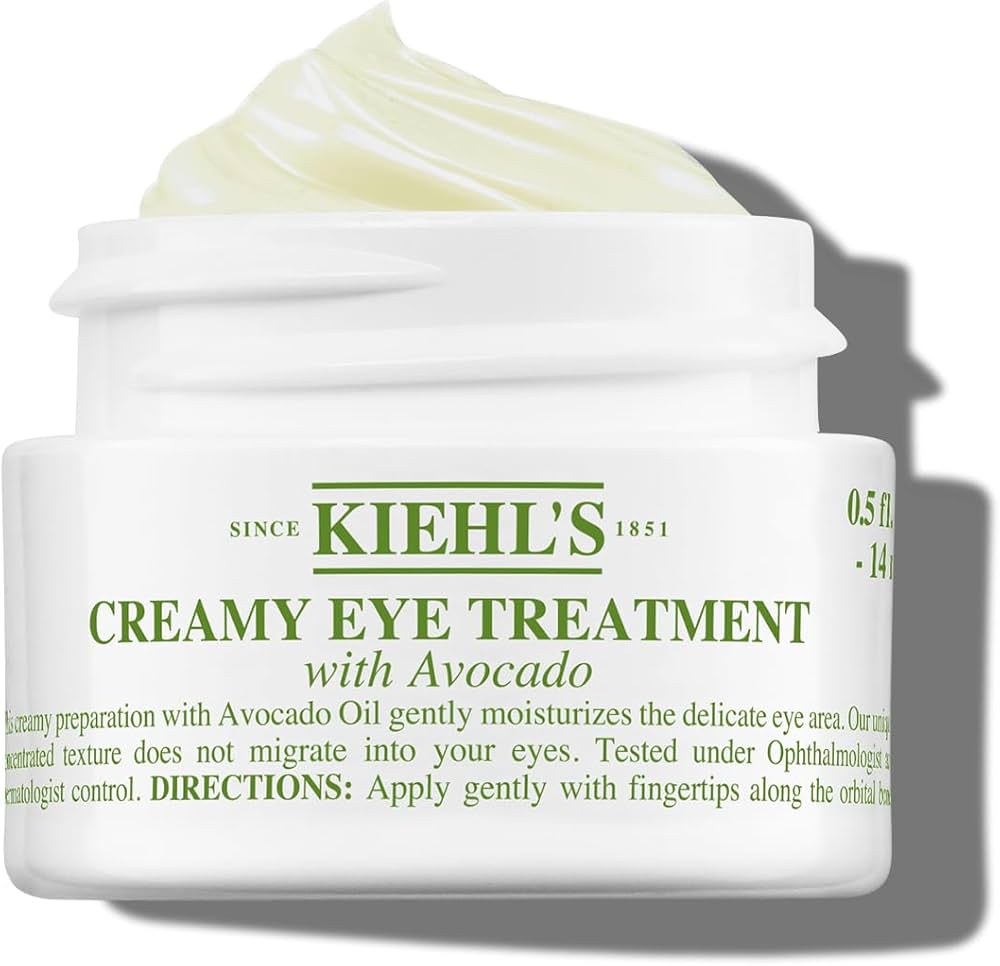
Foundation can cling to dry patches, which are def not cute and def not wanted for full glam. I loooooooooooooooooooooooove the Tatcha Dewy Skin moisturizer (I don’t love the constant price increase…Tatcha if you’re reading this…..) and this product plays wonderfully with any liquid, cream and powder foundations. It leaves your skin with a slight luminosity and suppleness and no hint of dryness in sight. Also for the love of lipstick, PLEASE put some eye cream on! Dry patches can exist around your eyes and you won’t be able to blend later. I like the Kiehls Avocado Eye Cream but Secret Weapon #1: I use my Ordinary Caffeine Eye Serum to make my eyes look more awake and bright.

Step 2: Prime aka glue
Okay your skin is ready, set, GO. Now what?
Prime your skin.
The type of primer you use depends on your skin type and skincare needs. If you have oily skin, consider using a mattifying, silicone-free primer, which will absorb any oils in your skin throughout the night. If you struggle with redness, use a color correcting primer with calming ingredients such as niacinamide. I have pretty normal skin, so my go-tos are Smashbox Photo Finish Primer, Milk HydroGrip Primer and Tatcha Silk Canvas. All of these are meant to smooth out my skin, grip my foundation and create a flawless canvas.
Secret Weapon #2: the Danessa Myricks Yummy Skin Blurring Balm in shade 2.
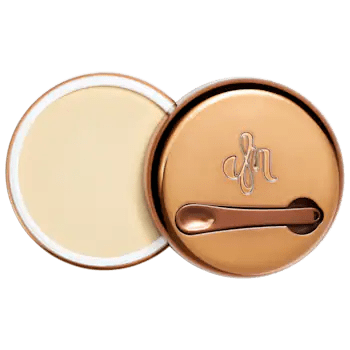
YOU GUYS. THIS. PRODUCT. IS. MAGICAL. There’s a bit of a learning curve but once you get the method (swirl in the pot, tap into the skin), you are fully prepped and fabulous. I get so many compliments on my skin when I wear this under my foundation, and even though I have been an avid retinol user since the womb, I credit this product for this flawless face. Note: I only put this product in the areas I layered my Smashbox primer earlier–apples of cheeks, forehead, chin and nose.
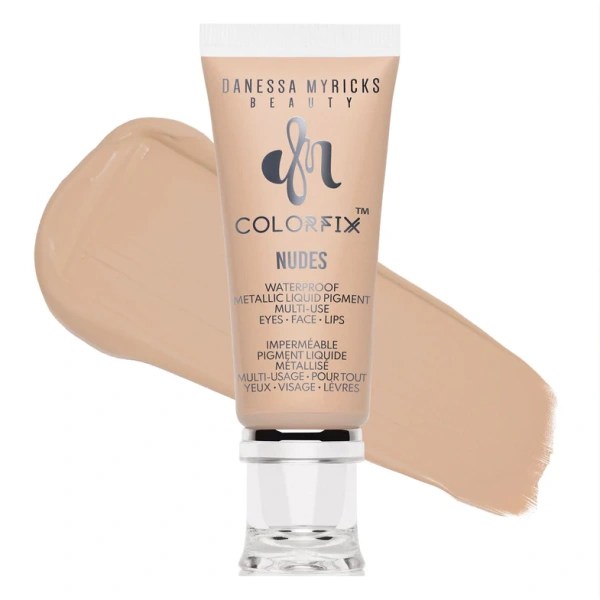
While you’re at it, throw on your eyeshadow primer in this step. Don’t even look for any other primer besides the Urban Decay Primer Potion–a tried and true since my teen years. Danessa Myricks’ Nude Colorfix line also works great here, as it is waterproof. For reference, I am shade Nude 3.

step 3: layer
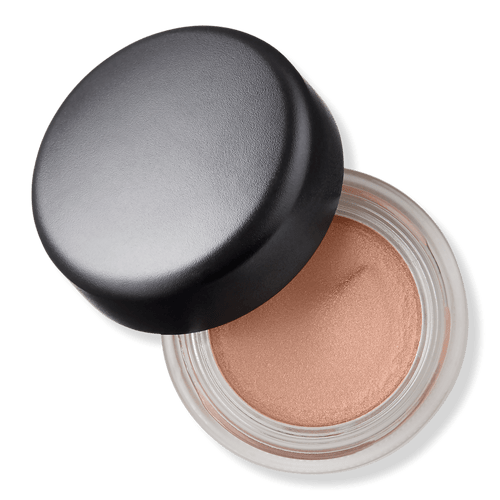
The key to long lasting and cake free makeup is lay-er-ing, which is why full glam sessions take a long time for me. I apply most of my products in layers, which means stacking products that play well with each other. After applying the Primer Potion or Colorfix, I’ll always go over my eyelid with my Mac Painterly Paint Pot. Any avid makeup lover SWEARS by this product and trust, I’ve worn this combo while jetskiing and my eyeshadow didn’t budge.
When doing my eyes, layering means a gradual building of depth in the crease, smoking out of my eyeliner and layering cream eyeliner with powder eyeshadow. For example, if I use a cream eyeshadow in my crease, like Danessa Myricks’ Colorfix in Latte (a staple in this household), I’ll buff over that in a similar shade of rose. For eyeliner, Mac Blacktrack is forever my friend. I’ll always set that with a true black eyeshadow and a small angled brush.

For my face, layering means gradually applying, building and shaping with my products. Round 1 of my foundation (Dior Backstage Face and Body, a perfectly layerable and slayable foundation) goes on with a stippling method and a dense brush (Real Techniques Expert Face Brush). I let it sit for a second, then gradually applying round 2 as needed in areas that need more coverage. Pro tip: I always apply the foundation to my hand first, stipple my brush into it, and buff that into my skin to prevent over-applying.
When I am satisfied, I start with my cream products–bronzer, blush and highlighter. The products don’t matter as much here as the method: whatever you do in cream form, go over it lightly in powder form. I’ll use my Huda Beauty Tantour Bronzer (sadly discontinued) and go over it with Benefit’s Hoola Bronzer with a big fluffy brush. Same thing with my blush: a cream color of my choosing and a corresponding powder shade.
Actually, I lied. Products DO matter here. I opt for full pigment, long wearing cream colors that are easy to blend. So, I guess I choose GOOD products? Is there any other standard?
step 4: set
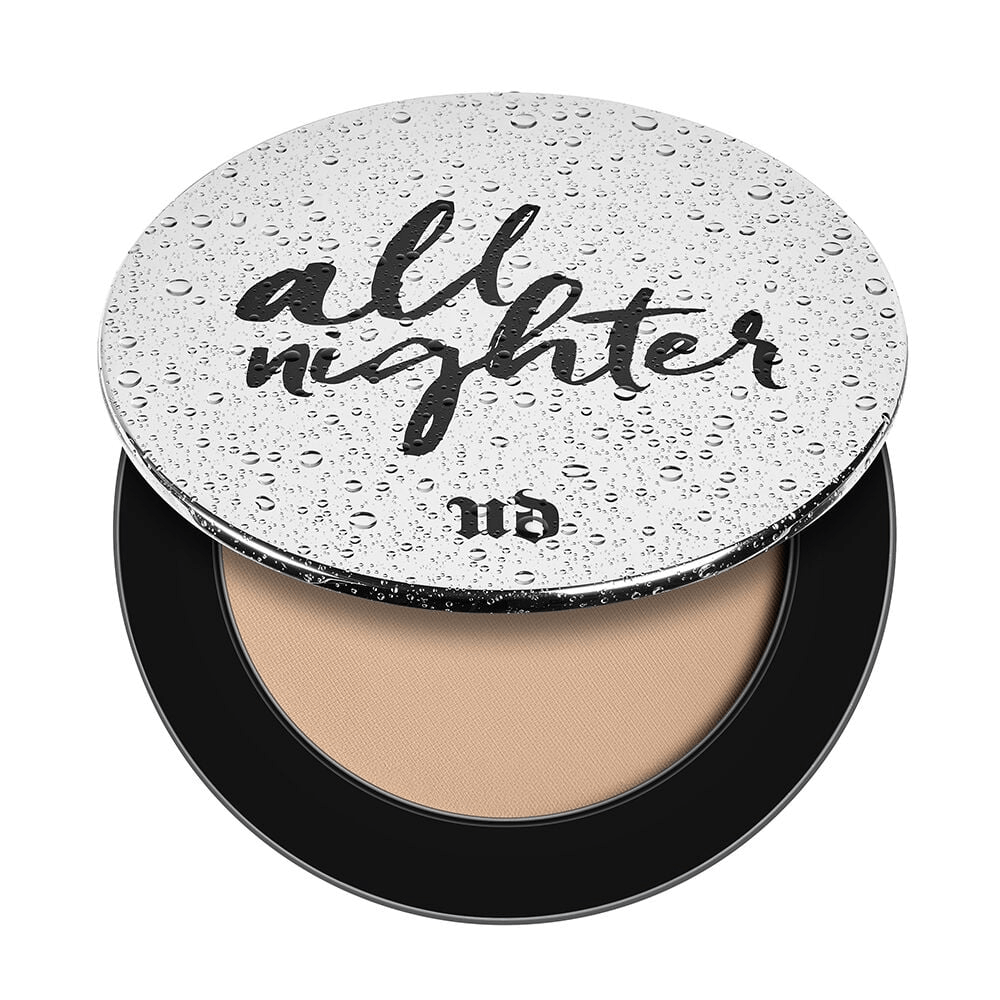
After all of this, and several hours later, you’re FINALLY ready for the last step: setting your makeup. I use two different products to set, but both are from the same line. The first is Urban Decay’s All Nighter Setting Powder. Using a fluffy brush, I only put this in the areas of my face I would normally touch up throughout the evening. And I only use this LIGHTLY. I made the mistake when I first bought this to use it all over and my face was super dry. Not cute.
The second product is a bit controversial for me at the moment but definitely one that I’ve repurchased 100 times–the Urban Decay All Nighter Setting Spray. Just shake, spritz and sashay away with this one, though recently the formula changed and Urban Decay’s partnership with Skindinavia ended rather messily. Once I use my last bottle up, I am more than likely going to look for a new product, since I heard the new formula just isn’t living up to the hype. It was nice while it lasted, I guess. RIP All Nighter, you’ve been good to me the last 10+ years.

At the end of the night, the party may fade and the heels may come off—but your glam? She’s still standing. And honestly… I love that for you. ✨

With love and fashion,
KM

Leave a comment